
Supplies needed
- Knit fabric with good recovery, I recommend something with at least 5% spandex or Lycra content (see below for how much)
- Matching thread
- Clear elastic
- Sewing machine with stretch stitch, a serger is optional
- Measuring tape
- Large clear grid ruler is optional but suggested
- Stretch needles, stretch double needle is optional
For my example, I am using adult measurements but you could easily follow the same instructions to make one in a child or tween size. I would only suggest to make the waist band less tall, how much less would depend on the height of the child.
I am using a 10oz rayon spandex fabric from Made of Love Fabrics.
Measurements
To determine how much fabric you need, we need to first see what size you need to make your skirt.
For the purposes of this tutorial, when I say waist measurement, I don't mean your natural waist but rather the place where you want to wear the skirt. For most of us, that is actually a high-hip measurement.
Measure your waist and measure how long you want the skirt to be - from where it sits on your waist to just above the floor.
Take your waist measurement, divide it in half and then multiple it by 1.25 to get the width of your panels. My waist, at the height where I want my skirt to sit is 42" so for me:
42 ÷ 2 = 21"
and then I multiply it by 1.25...
21 x 1.25 = 26.25
I could round that off to 26" to make it easier for myself. Normally you would also add seam allowance but since this skirt is gathered, and I was going to sew it at 1/4" seam allowance, I didn't bother, it doesn't have to be that precise for this project. This number is the width of each of my fabric panels.
For the length, measure from your waist (where the skirt will sit) down the side of your body where you want the hem to be. Mine was 40.5" and I need to add 1.5" hem allowance, giving me a 42" length.
For my example I will need 2 panels 26" x 42"
For the waist band, you want it to be 10" long (or tall/high) and the width is your panel width minus 2".
So for my example, I need 2 pieces cut 24" x 10".
You also need to decide how high you want your slit to be. Measure from your waist to the top of your slit. Mine go to the knee and my measurement was 20.25".
How much fabric do I need?
If your fabric is wide enough to cut both skirt panels from one width of fabric, you need your skirt length measurement plus 10" (the height of your waist band) in yardage to make this project; I would round that up to the nearest 1/2 yard to account for fabric shrinkage.
If my fabric is 60" wide, as many knits are, I would need a minimum of 52" of fabrics, a little under 1.5 yards for this project.
If your fabric is not wide enough to accommodate cutting two panels from the length, you will need double your length in yardage for your skirt, plus 20" (double the height of your waistband).
Cut your pieces
There are only four pieces for this project and the front and back are the same. You need:
- 2 skirt panels, mine are 26" x 42"
- 2 waist band pieces, mine are 24" x 10"
I use my clear grid ruler to measure the panels, and cut both at once with a rotary cutter on a large cutting mat (I have this giant one).
Mark on each side of each panel where the top of the slit is and what side is the top (waist side) of the panel.
Sewing directions
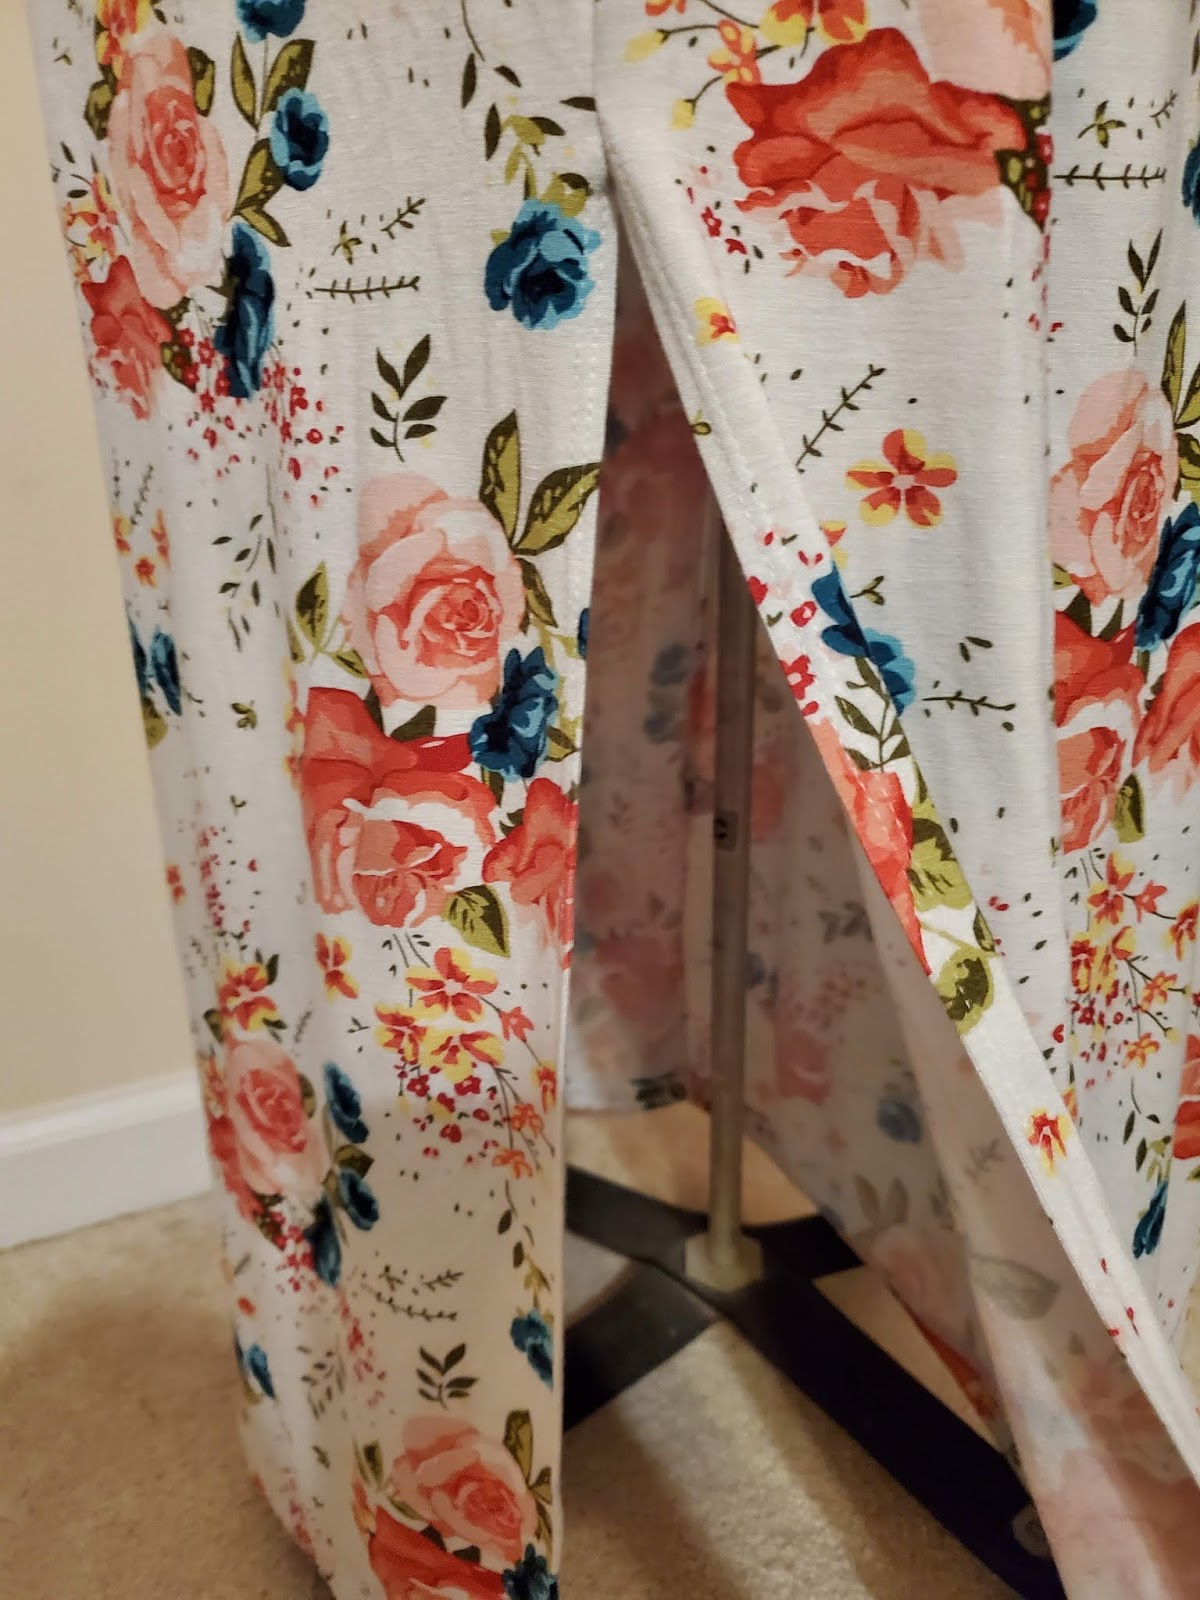
The first step is to finish the edge of your slits on all four panels. Pin or clip the edge over 1/4" below the line you marked, all the way to the lower edge.

Sew with a stretch finishing stitch of your choice using a stretch needle. This can be a with a simple zig-zag or with a stretch double needle or I used my Babylock coverstitch machine.
 |
| I use a chaco liner to mark. |
The first step is to finish the edge of your slits on all four panels. Pin or clip the edge over 1/4" below the line you marked, all the way to the lower edge.

Sew with a stretch finishing stitch of your choice using a stretch needle. This can be a with a simple zig-zag or with a stretch double needle or I used my Babylock coverstitch machine.
 |
| Coverstiched, finished edge. A stretch double needle can approximate this look. |

 |
| This shows the point where the side seam and slit meet. |
If you used a serger, you have a little tail to deal with. For the best appearance in this case, I thread it back up the seam, make a knot, then snip the end.

Next, construct your waist band. There are two waist band pieces, sew them together on the short edges, these are the side seams of your waist band.

The waist band will be a small tube.

At this point, I like to try the waistband on and see if it's snug enough. Depending on how stretchy your fabric is, you might want to make it a little bit smaller. Keep in mind that the weight of the skirt will pull on it, so it's better for it to be stretched a little around your waist.
When it's attached, it will be folded in half, as below. This one is probably a little too loose, it would be good to wear on Thanksgiving :) give me some belly space.

Sew a long gathering stitch along the top of both the front and the back of the skirt. I only sew one line of stitching with a regular stitch on the longest length but some people like to have two rows. Before gathering your skirt, mark the cent of each panel with a clip or pin, diving the skirt into 4 equal sections (the side seams mark the other sections). Fold your waistband in half, wrong sides together and then do the same on your waist band, marking the centers to make it 4 equal sections.
Gather the skirt section to fit the waist band, distributing the gathers evenly between the 4 sections.

The next step is to sew the skirt to the waist band with your stretch stitch, aligning the raw edge of the skirt with the two raw edges of the waistband. The clear elastic is sewn into this seam, to stabilize the waist seam. Basically it helps to keep your waist band from getting stretched out as you wear your skirt. The elastic doesn't need to be stretched while it's sewn but I still find it to be challenging to align all 3 edges, and serge my elastic on in one go. So I baste the skit pieces together on my machine first, as in the photo below.

Next, I try on the skirt to check the hem. There is a 1.5" hem allowance that we added earlier but I like to try it on to check. If it looks good, I fold up the edge 1.5" on the front and back and hem it. You can use a zig-zag, stretch double needle or I use my coverstitch.
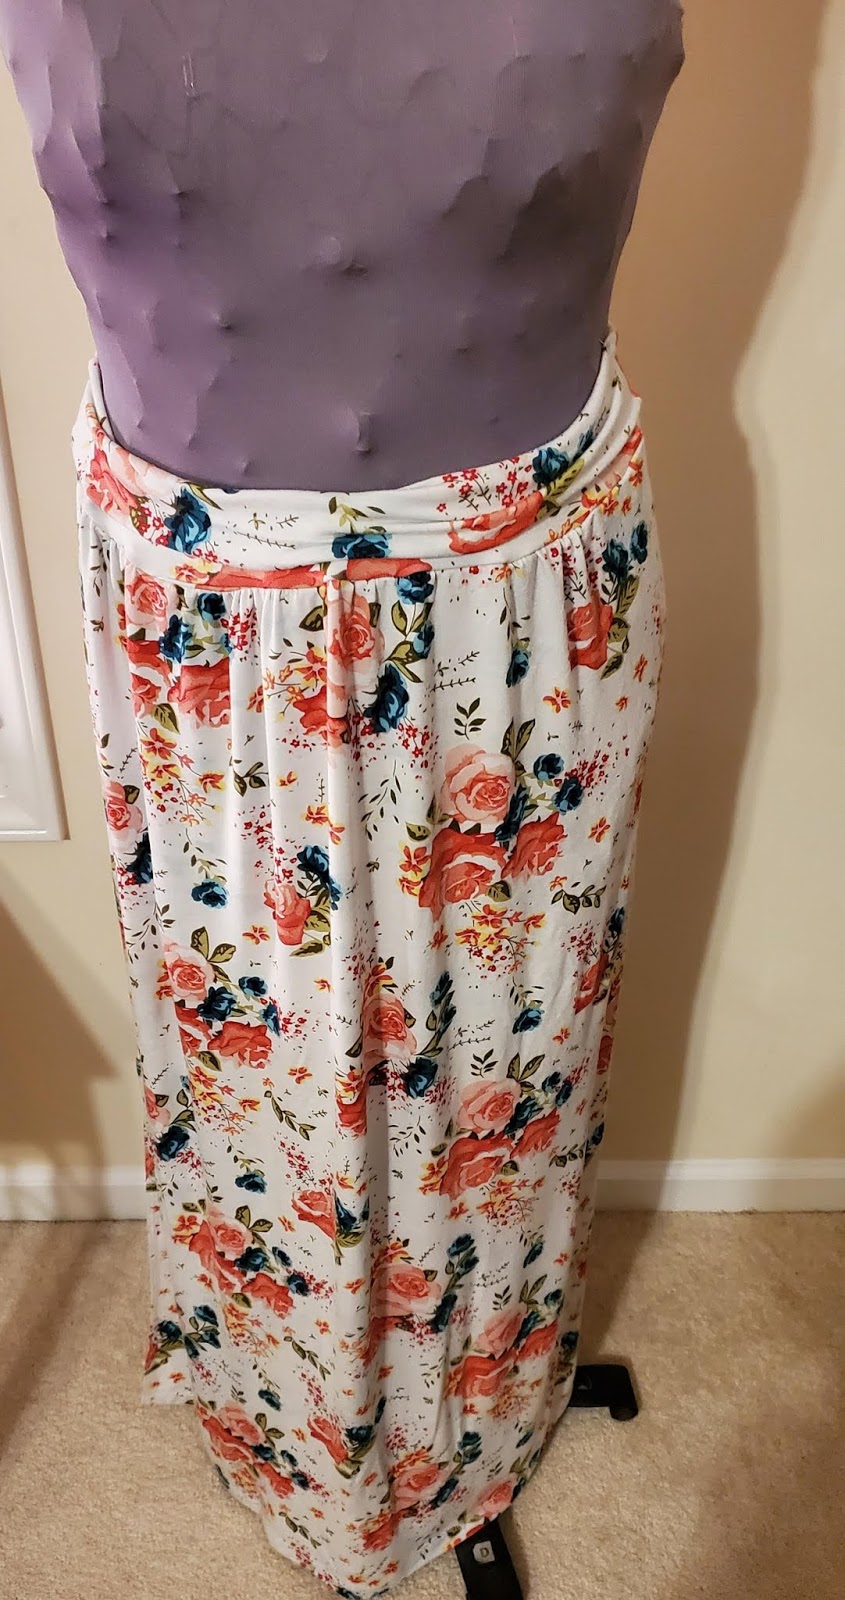
Now you have a pretty new skirt to wear!
This post may contain affiliate links, if you make a purchase using one of these links this blog may receive a small commission. Thank you for your support of my fabric habit!
Comments
Post a Comment